microCMSアイキャッチからGatsby Imageを生成
2022年09月17日

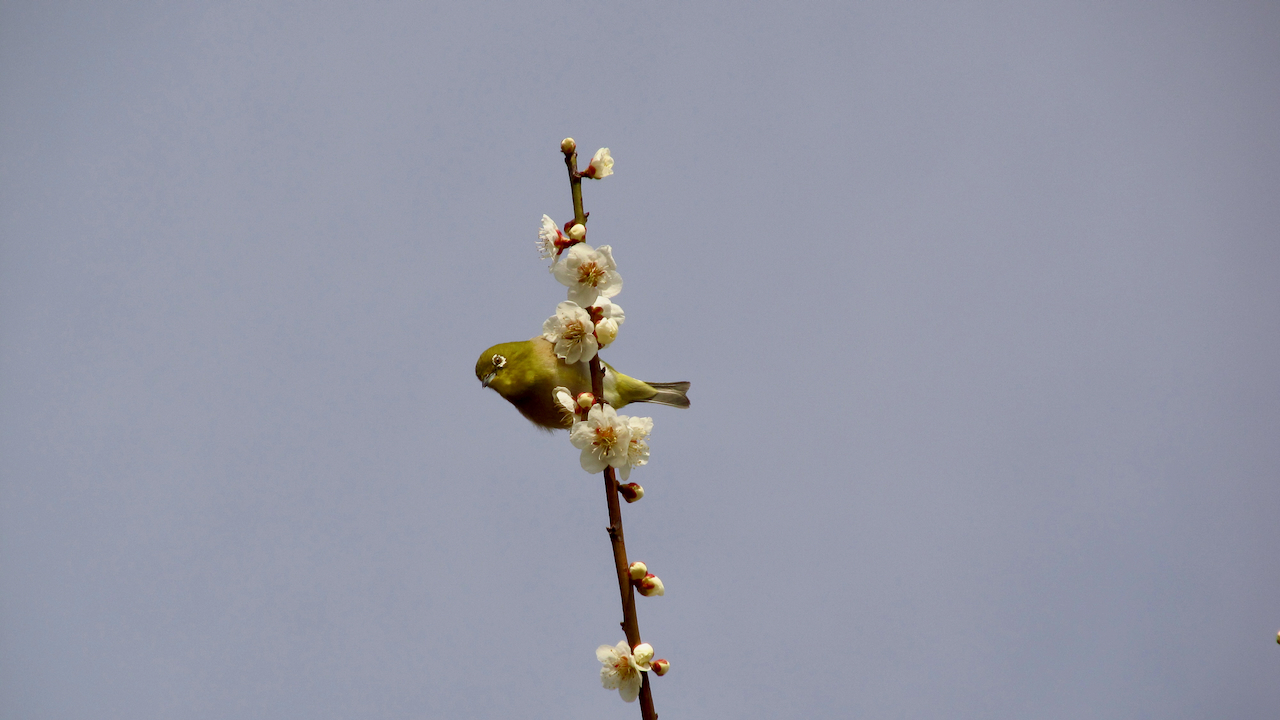
microCMSで画像を使う場合、通常はmicroCMSのサーバに保存された画像へのリンクとして扱われる。上の画像を新規タブで開いてみると https://images.microcms-assets.io というアドレスで始まることがわかる。microCMSには画像APIが用意されており、URLのパラメータで取得する画像のサイズを変更することが可能。
この記事ではGatsby Node APIsを使ってアイキャッチの画像をローカルのGatsby Imageとして扱う方法を記す。
環境
yarn add gatsby-plugin-image gatsby-plugin-sharp gatsby-source-filesystem gatsby-transformer-sharpgatsby-plugin-image gatsby-plugin-sharp gatsby-source-filesystem gatsby-transformer-sharp をインストールし、gatsby-config.ts のプラグインに追加。
Gatsby Node APIs
onCreateNode
gatsby-source-filesystem の createRemoteFileNode を使ってリモートファイルのNodeを生成。
参考: https://www.gatsbyjs.com/docs/how-to/plugins-and-themes/creating-a-source-plugin/#optimize-remote-images
createSchemaCustomization
GraphQLの MicrocmsBlogs スキーマに featuredImg フィールドを設定する。
createTypes(`
    type MicrocmsBlogs implements Node {
      featuredImg: File @link(from: "fields.localFile")
    }
`);
参考: https://www.gatsbyjs.com/docs/how-to/images-and-media/working-with-images-in-markdown/#featured-images-with-frontmatter-metadata
以上の手順でアイキャッチがGatsby Imageとして利用できる。